







Showing posts with label clothing. Show all posts

Texture LOVE (and a twirl skirt, too)

Emily Twirl Outfit
I’ve only been working on this twirl skirt for Em for
about a year. 
Every time I started working on it, I would get overwhelmed and just put it to the side.  I think God knew I didn’t have the patience to sew for more than one girl and that’s why He made the other 3 boys. Emily and I collaborated  to pick out the fabrics and we both agreed on Tina Givens…  my baby girl has GOOD taste! :)
Emily Twirl Skirt2
She wanted to make sure it had purple and blue, her two favorite hues.  I obliged.
Emily Twirl Skirt
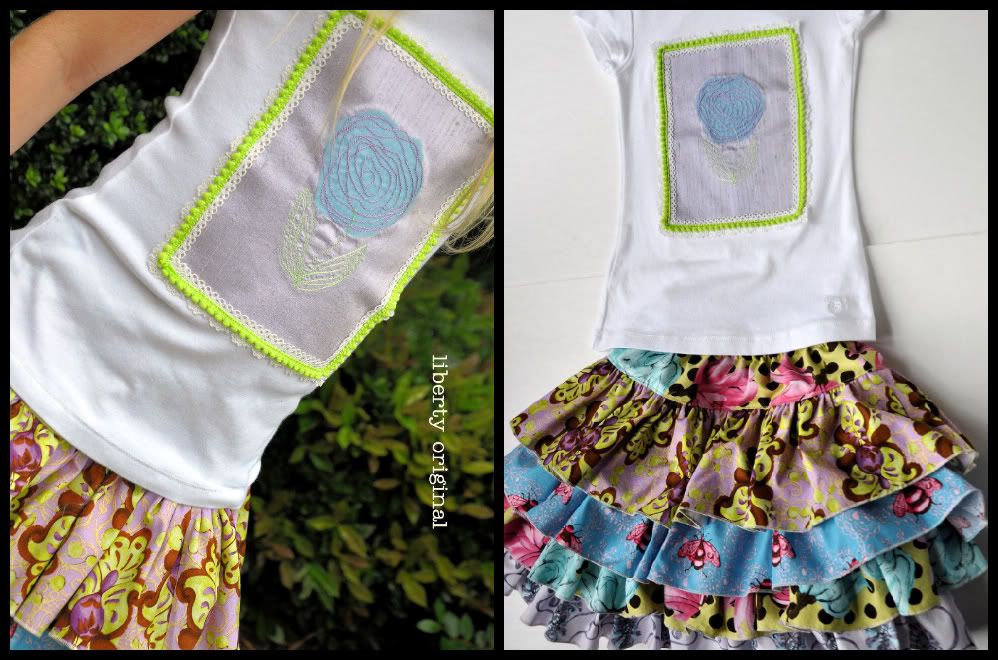
After the skirt was finally finished (and by some miracle still actually fit), the shirt posed another challenge.  The fabrics of the skirt are so bold and colorful that I didn’t want the shirt to distract from the outfit.  Em and I looked at embroidery designs for HOURS to no avail. 
You know that state where you aren’t exactly awake but you aren’t quite asleep yet either? 
This time is when the best (and weirdest) ideas pop into my head.  I even keep a notebook beside my bed to write down the good stuff. Seriously, if I don’t write it down, it’s g-o-n-e by the next morning!  I know, I know, I’m crazy.  I blame it on all the kids. :)
Back to the idea…
LAYERED TEXTURE!!
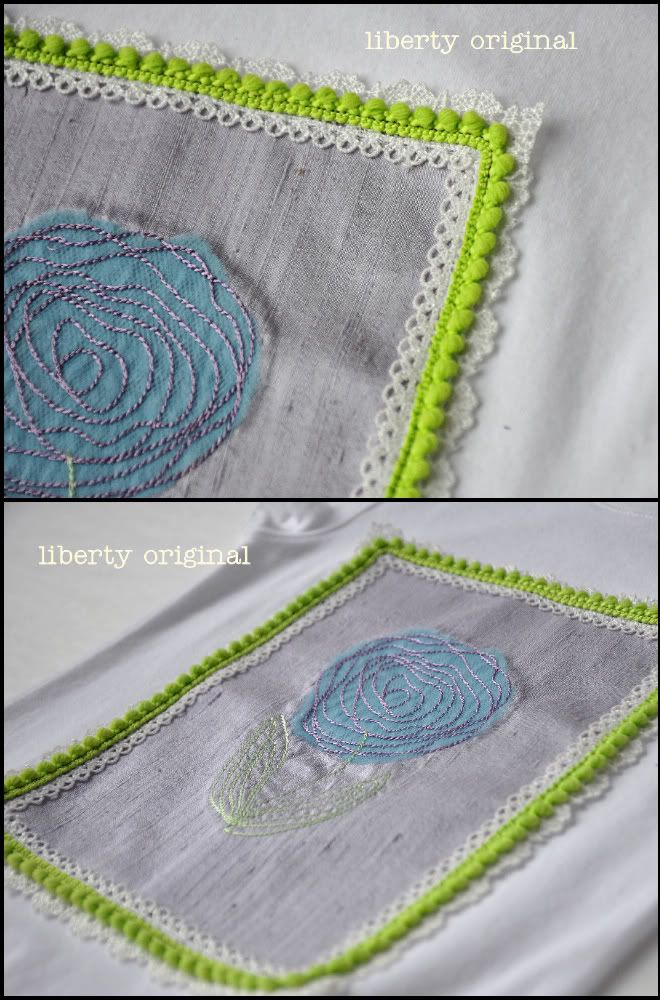
I started digging around the next morning and found everything I wanted…. silk, mini pom pom fringe, lace, tulle, and a scribbled rose embroidery design.  Put them all together and
                         swoon
                                                      texture love!!!
Multi-textured designs just make me happy.  When everything comes together like it’s meant to be, my heart gets all warm and fuzzy.  I’m just saying…
Linking up with these parties this week.  Check some of them out for some fabulous ideas. :)
Turtle Man

Finley Turtle Shirt Close

Finley will be three in a month and weighs in at a whopping 23 pounds fully clothed.  Now that he’s potty trained (in theory anyway) and wearing big boy underwear, even his 12-18 month shorts fall down. :( I don’t want to buy any more at this point even though it will be shorts weather in these parts for another couple of months.

Finley Turtle Outfit 

This is my first attempt at making shorts for my little guy.  Hubs promptly let me know that our son looks like he’s wearing a tablecloth….  I think the fabric is cute for a toddler!!  It’s another one of those fabrics that I love so much that I’ve been hoarding it.  I bought it to make myself pajama pants, but that hasn’t exactly happened.

Finley Turtle Outfit side

When I showed him his turtle man outfit, he said, “For me??  Oh, I love it!  Can I wear it?”  Even though it’s for his first day of “school” I just couldn’t say no.  This cute turtle design came from Lynnie Pinnie and the font is from Embroitique.

Finley Turtle Outfit Water

He played in every single water puddle he could find and thoroughly soaked his clothes…  but even when they were wet, the shorts didn’t fall down!! 

SUCCESS

Partying here if I can find the time!! :)

j is for JACK

Jack Shirt
Whoa…. it’s been like over 2 months since my last post… 
{I think I’m over my creative block}
Well…
                      at least I made something today!!
Jack Shirt Smiley
My Jack Jack has a shirt to wear on his first day of kindergarten come Wednesday.  Just look at that sweet little smile…  it sure warms a mummy’s heart. :)
Jack shirt close
I have had this idea in my head for about 4 months or so.  Today after I put Finn down for his nap, a little voice whispered in my head, “Enough already.  Get off your arse and make Jack his shirt for school.” 
Jack shirt corner
I had a white pair of pajama pants that I never wear and decided to repurpose them for Jack’s project.  Em helped me pick out the blue hue for the stamps.  I stamped, cut, and ironed away adorning the plain little yellow shirt that had been sitting, waiting for so long.  Then, I framed the patch with a long straight stitch and a shortened zig zag stitch for a bit of added detail. 
Jack Shirt High Kick
So, thank you Janette for the whisper.  You are golden and I can’t wait for that sweet baby girl to get here!
Linking up here for some more crafty inspiration:


Photobucket
Link up you latest project every Wednesday on the Elle Belle Creative Your Way Wednesday link party!

Avery’s Cupcake

Avery Cupcake Bottom View

I have had the privilege and honor of creating Miss Avery’s  1st AND 2nd birthday shirts!!  Avery has a blanket  she calls “Manky” that goes EVERYWHERE with her.  Her mom has enough material to make an extra blanket when needed and wanted to incorporate “manky” into Avery’s birthday this year. 

Avery Cupcake Close

The cupcake base is the ever coveted blanket fabric and Avery was soooooo excited when she saw it on her birthday shirt!! 

Avery Cupcake Top View

It was also Auntie Julia’s 15th birthday and Avery’s mom didn’t want her left out!!

Avery Cupcake Julia

Avery Cupcake Julia 15

As soon as I receive a picture of Miss Cutie Patootie in her shirt I will definitely post it!!

Avery Cupcake Julia Background

Partying HERE this week!!

Inspiration for Lily Kate

lily kate onesie Top Left

Remember my little birdie coffee cozy that I have been swooning over??  Here is the onesie that it was designed to match!  I was hoping to have a cute little collage to showcase different views of this lovely, BUT Photobucket is NOT cooperating this evening.

Lily Kate Onesie Top  Lily Kate Onesie Top Right Lily Kate Onesie Slant view

Bear with me…. here is my make shift collage! 


Lily Kate Onesie Bird

I accented the embroidery with mini pom pom fringe in pink.  I fell in love with this little bird from Alexander Henry’s Starling Line and knew he would be ab.so.lute.ly perfect as the focal point for this design.

Lily Kate Burp and Bib The burp cloth uses another coordinating bird from the same fabric.  I changed it up a bit and embroidered it horizontally instead of vertically.

Lily Kate Goodies Lily Kate Onesie

The diaper bag is designed, embroidered, and cut out….  I just have to finish sewing it together!  I have thoroughly enjoyed this project (really and truly).  I sincerely hope (with all my heart) that Lily Kate’s mummy likes it as much as I enjoyed creating it. :-)

I’m partying with this project HERE!!

Flower Envy

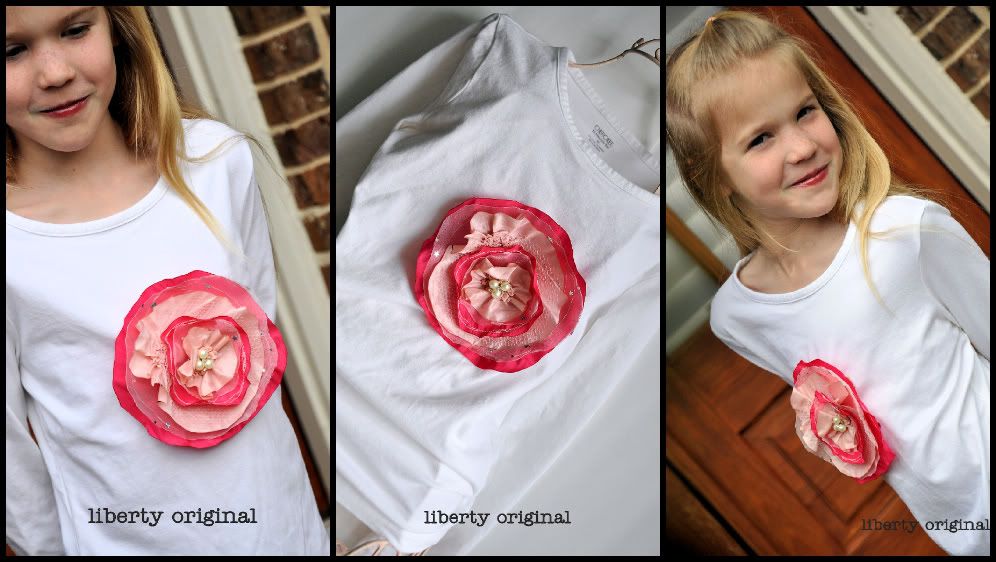
Pink Flower

Baby Girl saw Havanna’s shirt and decided that red and yellow were NOT the way to go… it needed to be a combination of dark and light pink.

I surprised her with this lovely when she got home from school today!  She was completely stoked (which made her mummy VERY happy).

Pink Flower Side 

I used two organza layers in addition to the satin this time  around.  I really enjoy different textures and fabrics, so I used netting instead of tulle with this fabric combo.

Pink Flower Shirt 2 

I am toying with the idea of selling these in my Etsy store.  I’m thinking I need a bit of variety…. hmmmm (ponder, ponder, ponder)…

On that note, have a GREAT weekend!!

Linking up to a few of THESE parties….  They provide me with so much inspiration. :)

Spring is IN the air

Red Flower off centered

I’m absolute ready for SPRING!! 

Red flower center detail Can you tell??  I have had these little flowers dancing around in my head for over a week now but HAD to finish all the heart day stuff before I could initiate yet another project.

red flower stitching detail Red flower full view

This little onesie is a birthday gift for a dear friend’s daughter.  Havanna is all about Minnie Mouse these days… thus the red and yellow inspiration for her shirt.

Oh, and btw, these guys are easy peasy to make.  Cut out a few circles (different sizes) of polyester fabric you like, pass the edges of the fabric over a flame to “seal” them (so they won’t fray), and arrange the circles to your liking.  You can either stitch them in the middle or use a fabric glue to attach the circles permanently.  For the center, I sewed a basting stitch down the middle of yellow organza ribbon and gathered it tightly.  Then, I sewed it to my flower and accented the middle with a few pearls.  I used the same ribbon technique for the leaves only I gathered loosely this time around.  I shaped each green ribbon into a “leaf,” so to speak, and attached them to the flower.

Red flower Top view Red Flower Bottom View

I stitched around the largest circle twice in a not-so-perfect circle shape whilst backstitching here and there to create the look I was going for.

Red Flower Left View


You want one for yourself, don’t you? 

It’s ok. 

I do to! :)

Linking up to a few of THESE parties… check them out for more inspiration.

Scarves Part 2 (as promised!)

Now, back to business…
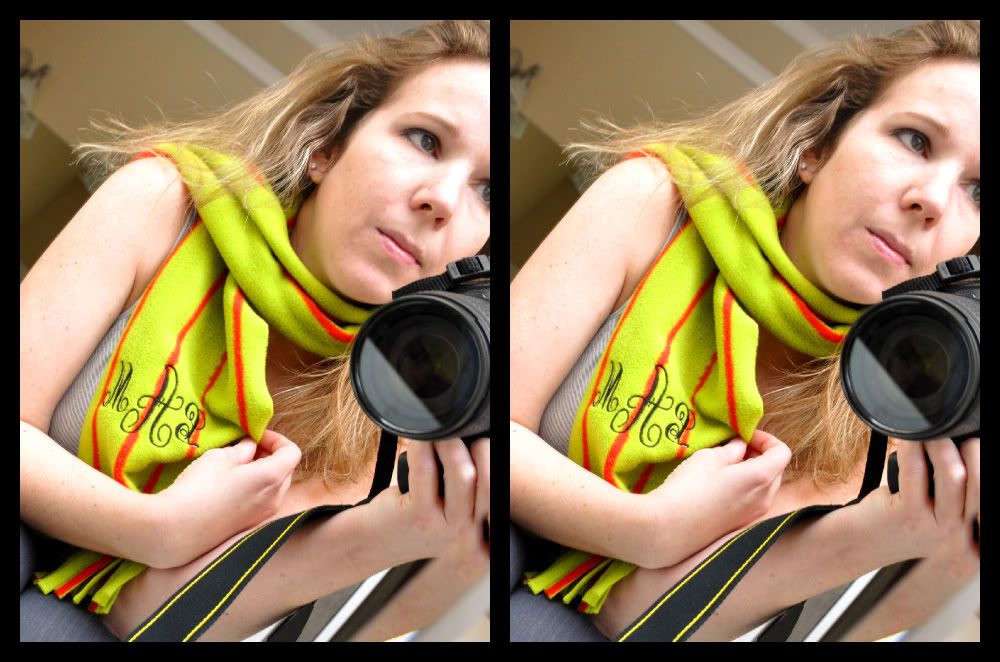
scarf, michelle
This scarf is my favorite by far!!  It was a bit more time consuming than the straight out embroidered/monogrammed ones, but oh so fun to make. :)

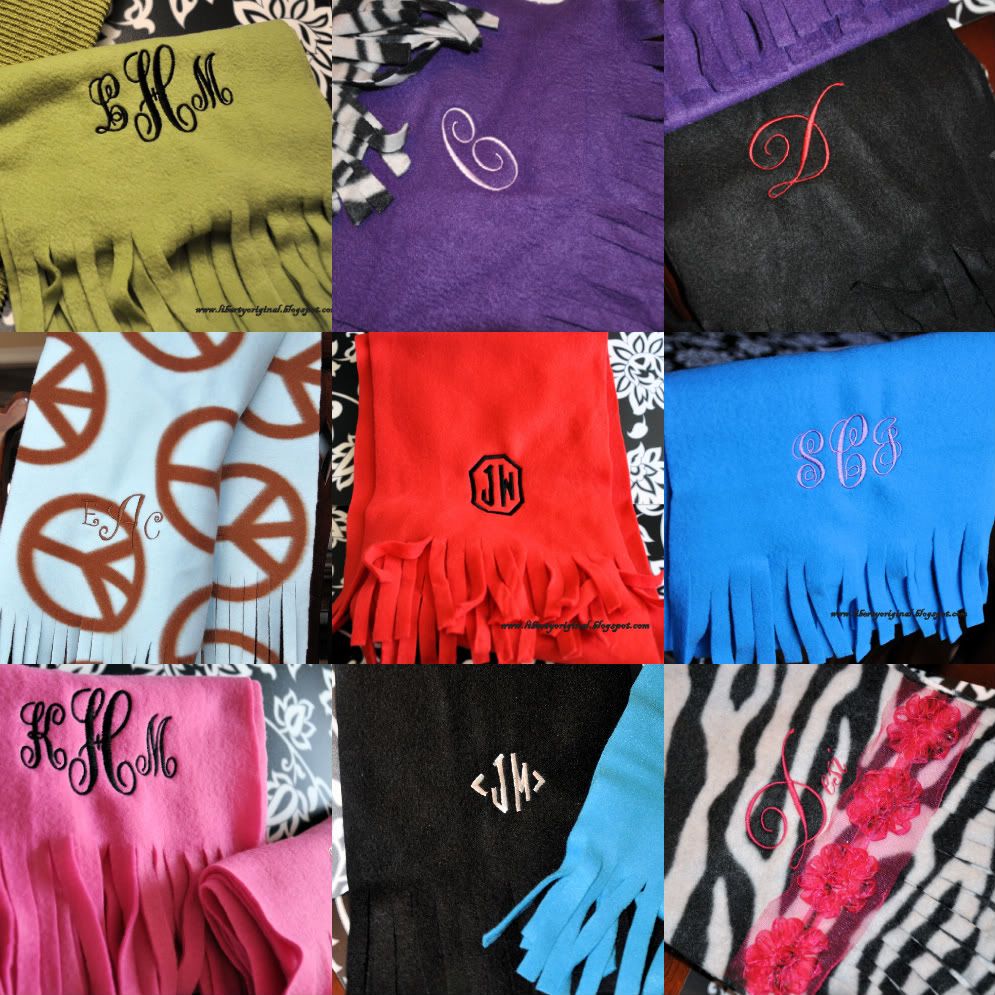
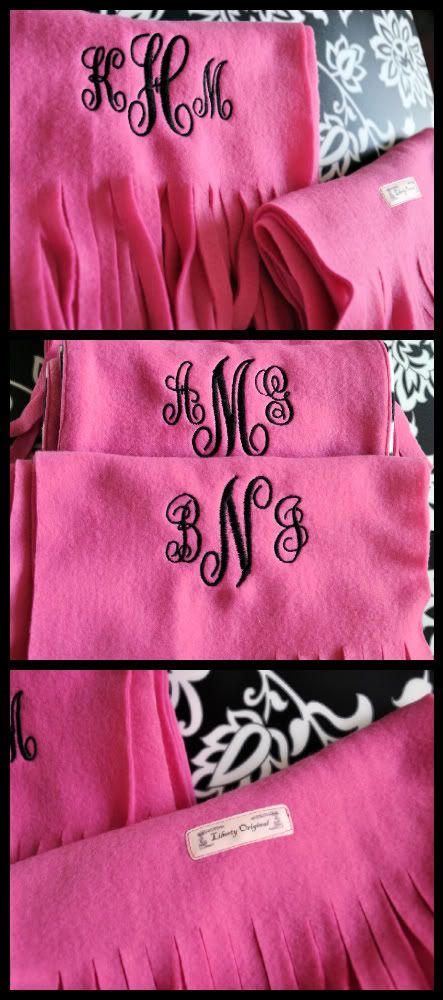
Here’s a sampling of the scarves I made mostly for teachers…

Here are the scarves I made for my mom, aunt, and grandmother so they can all match!

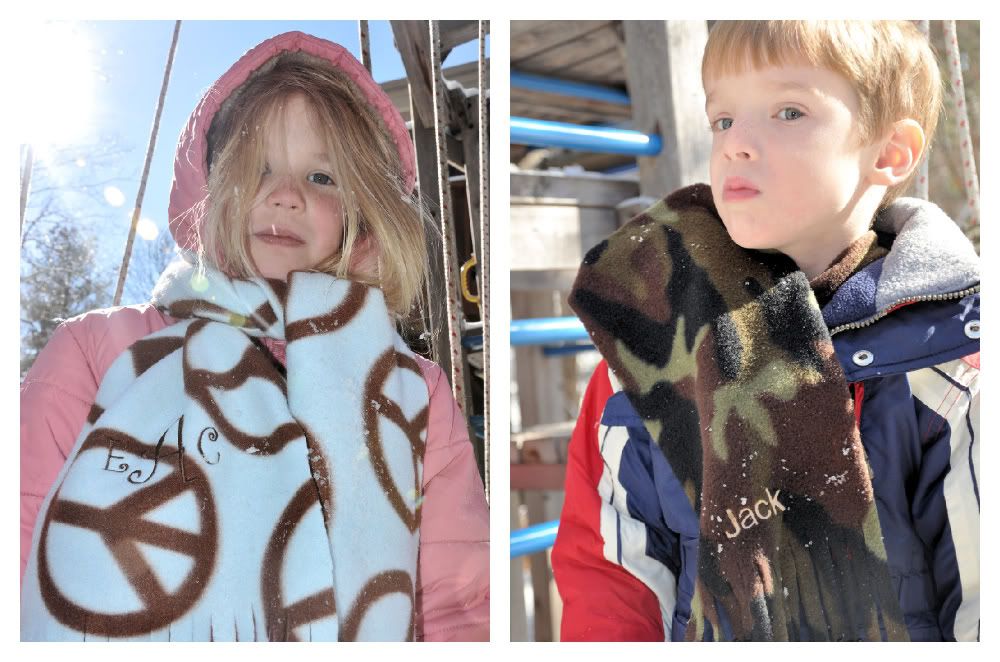
Here are Em and Jack sport their Christmas presents in the snow. :)
I’m thinking of making a tutorial on how to make these pretties.  They are SUPER easy to make and quick to whip up when you need them!


Scarves and Jewelry

I had planned on blogging about my craftiness leading up to the holiday season due to the fact that I haven’t done a whole heck of a lot of crafty posts as of late….  I became a wee bit sidetracked, however, and had a TON of fun taking pics in the process!!  I ended up making scarves, scarves, and more scarves for just about everyone on my gift list this year… I even made one for myself!

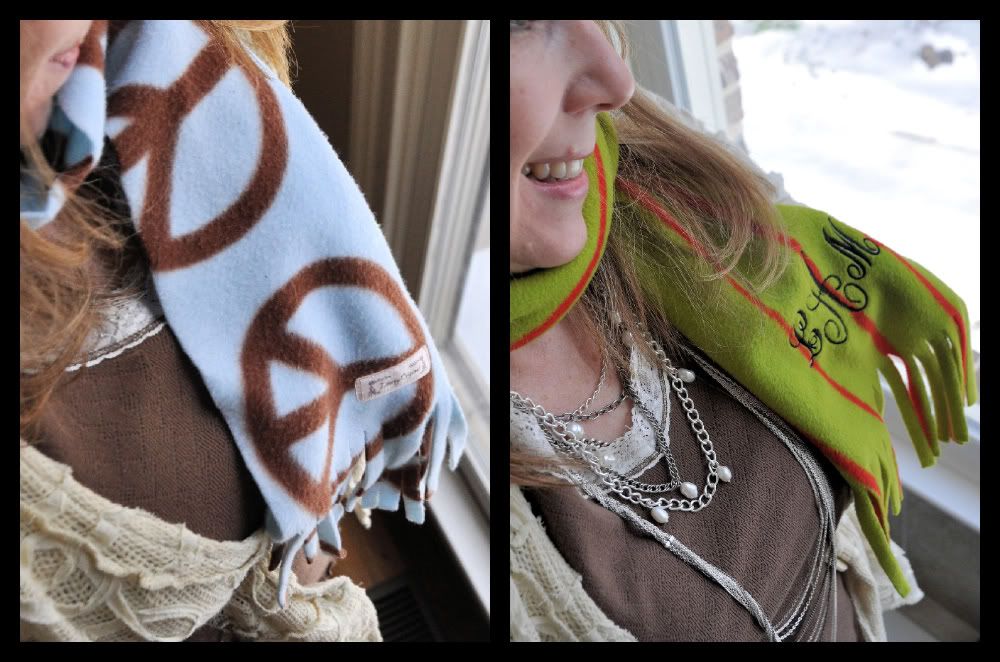
Here is the peace sign scarf I made for Emily and another shot of the green one I did for myself.  I even tagged each one with my Liberty Original label for that “professional look.”
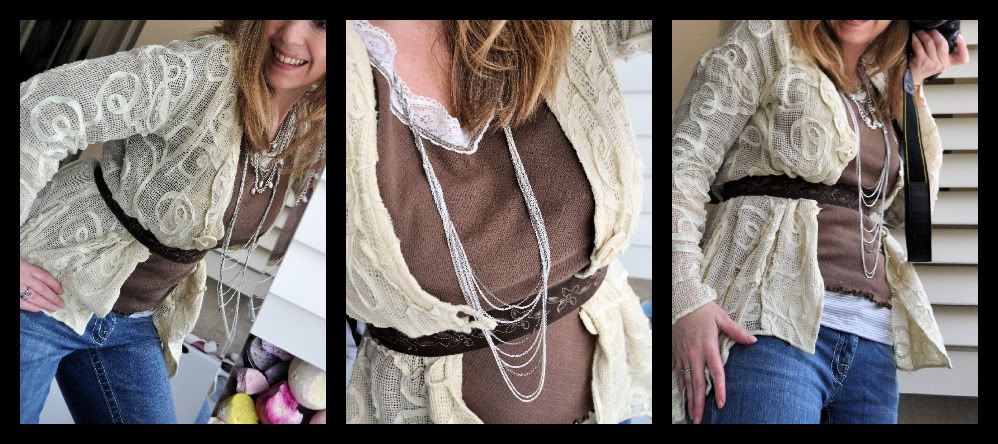
While I was playing with my camera (um I mean taking pictures for this post), the USPS brought a loverly pkg to my front door… My Stella and Dot jewelry arrived!! 

  And as you can probably tell, I really enjoyed playing dress up with my new goods. :))  Aren’t these necklaces just to die for?  I want to wear the cascading chain necklace with every outfit!  I really like the way you can layer their pieces to create your own look.
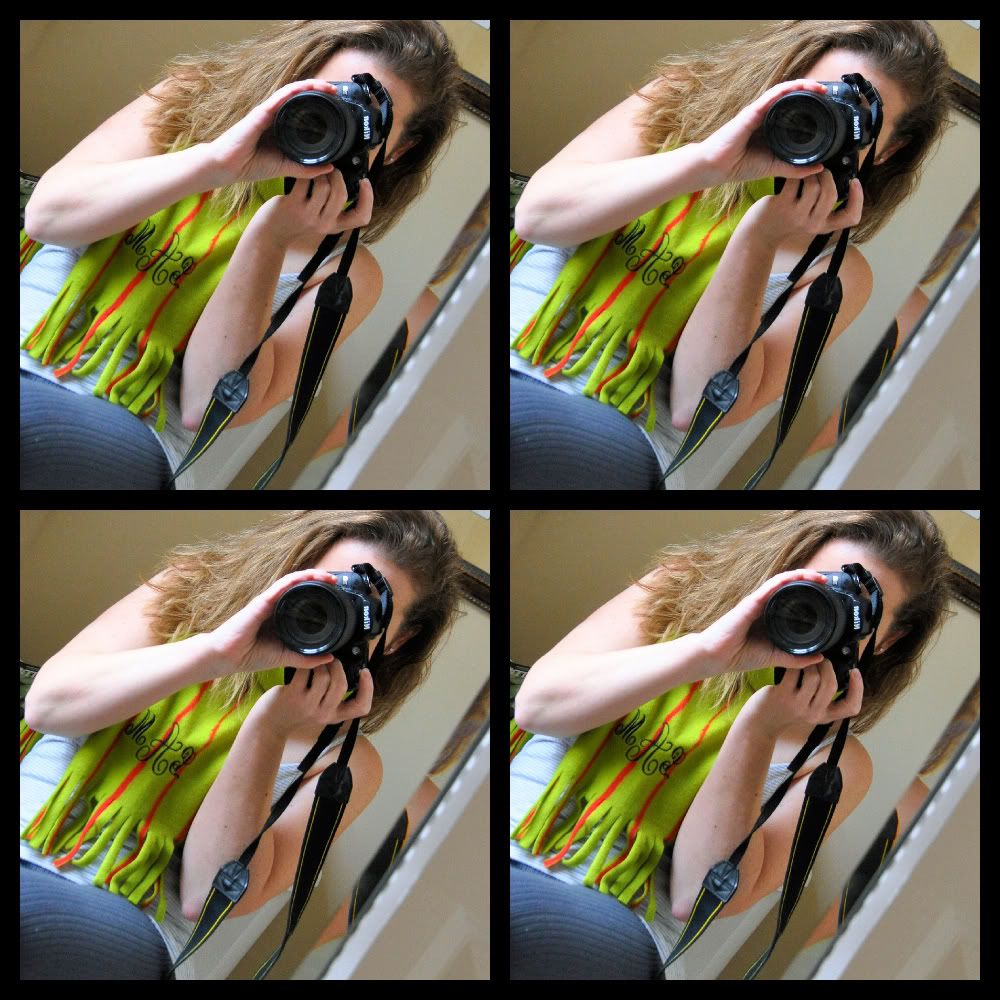
I learned how to make these really fabulous collages with my Photobucket account…


Aren’t they great?!?  Since I got sidetracked, I will have to make a “Scarves Part 2” post so I can actually show you the rest of my sweet little prizes that I made.  I don’t know that I will ever be able to write another post without organizing my pics into one of these beauties!!